Raleigh Tile
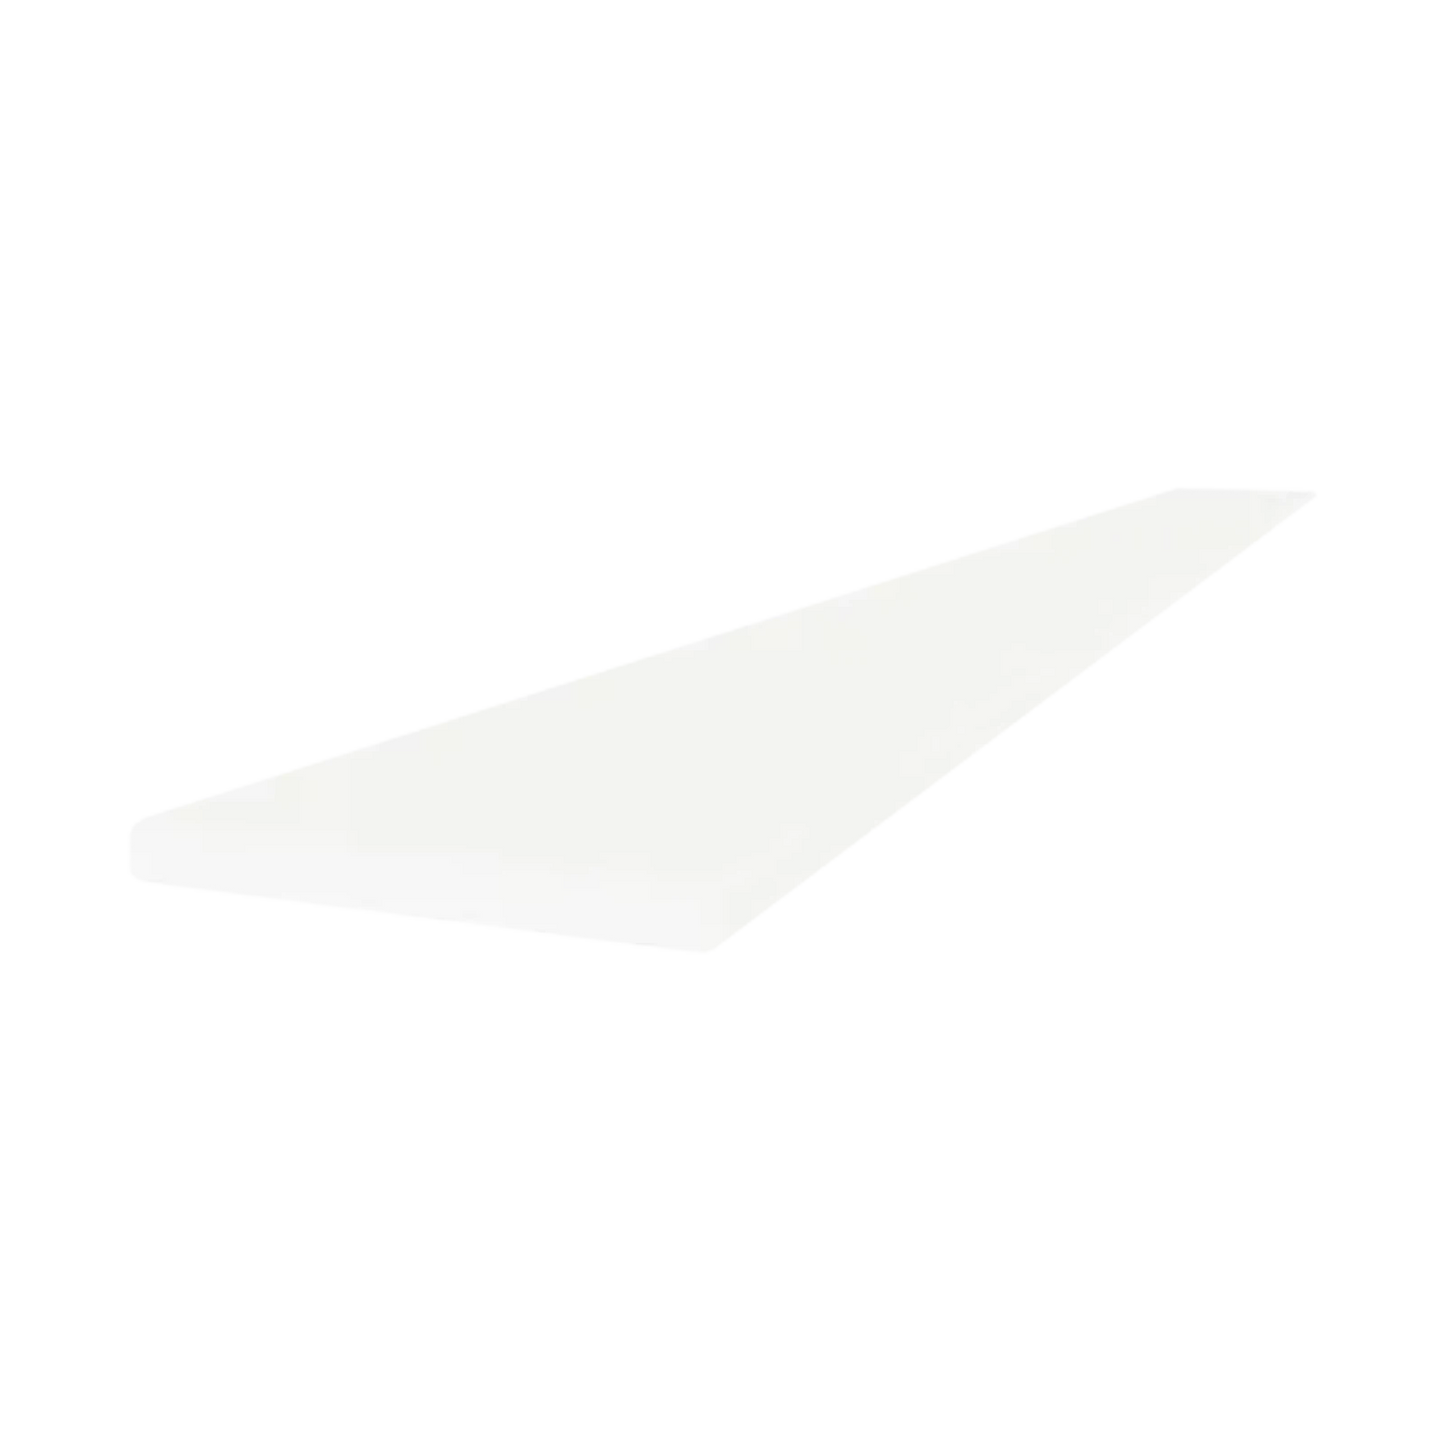
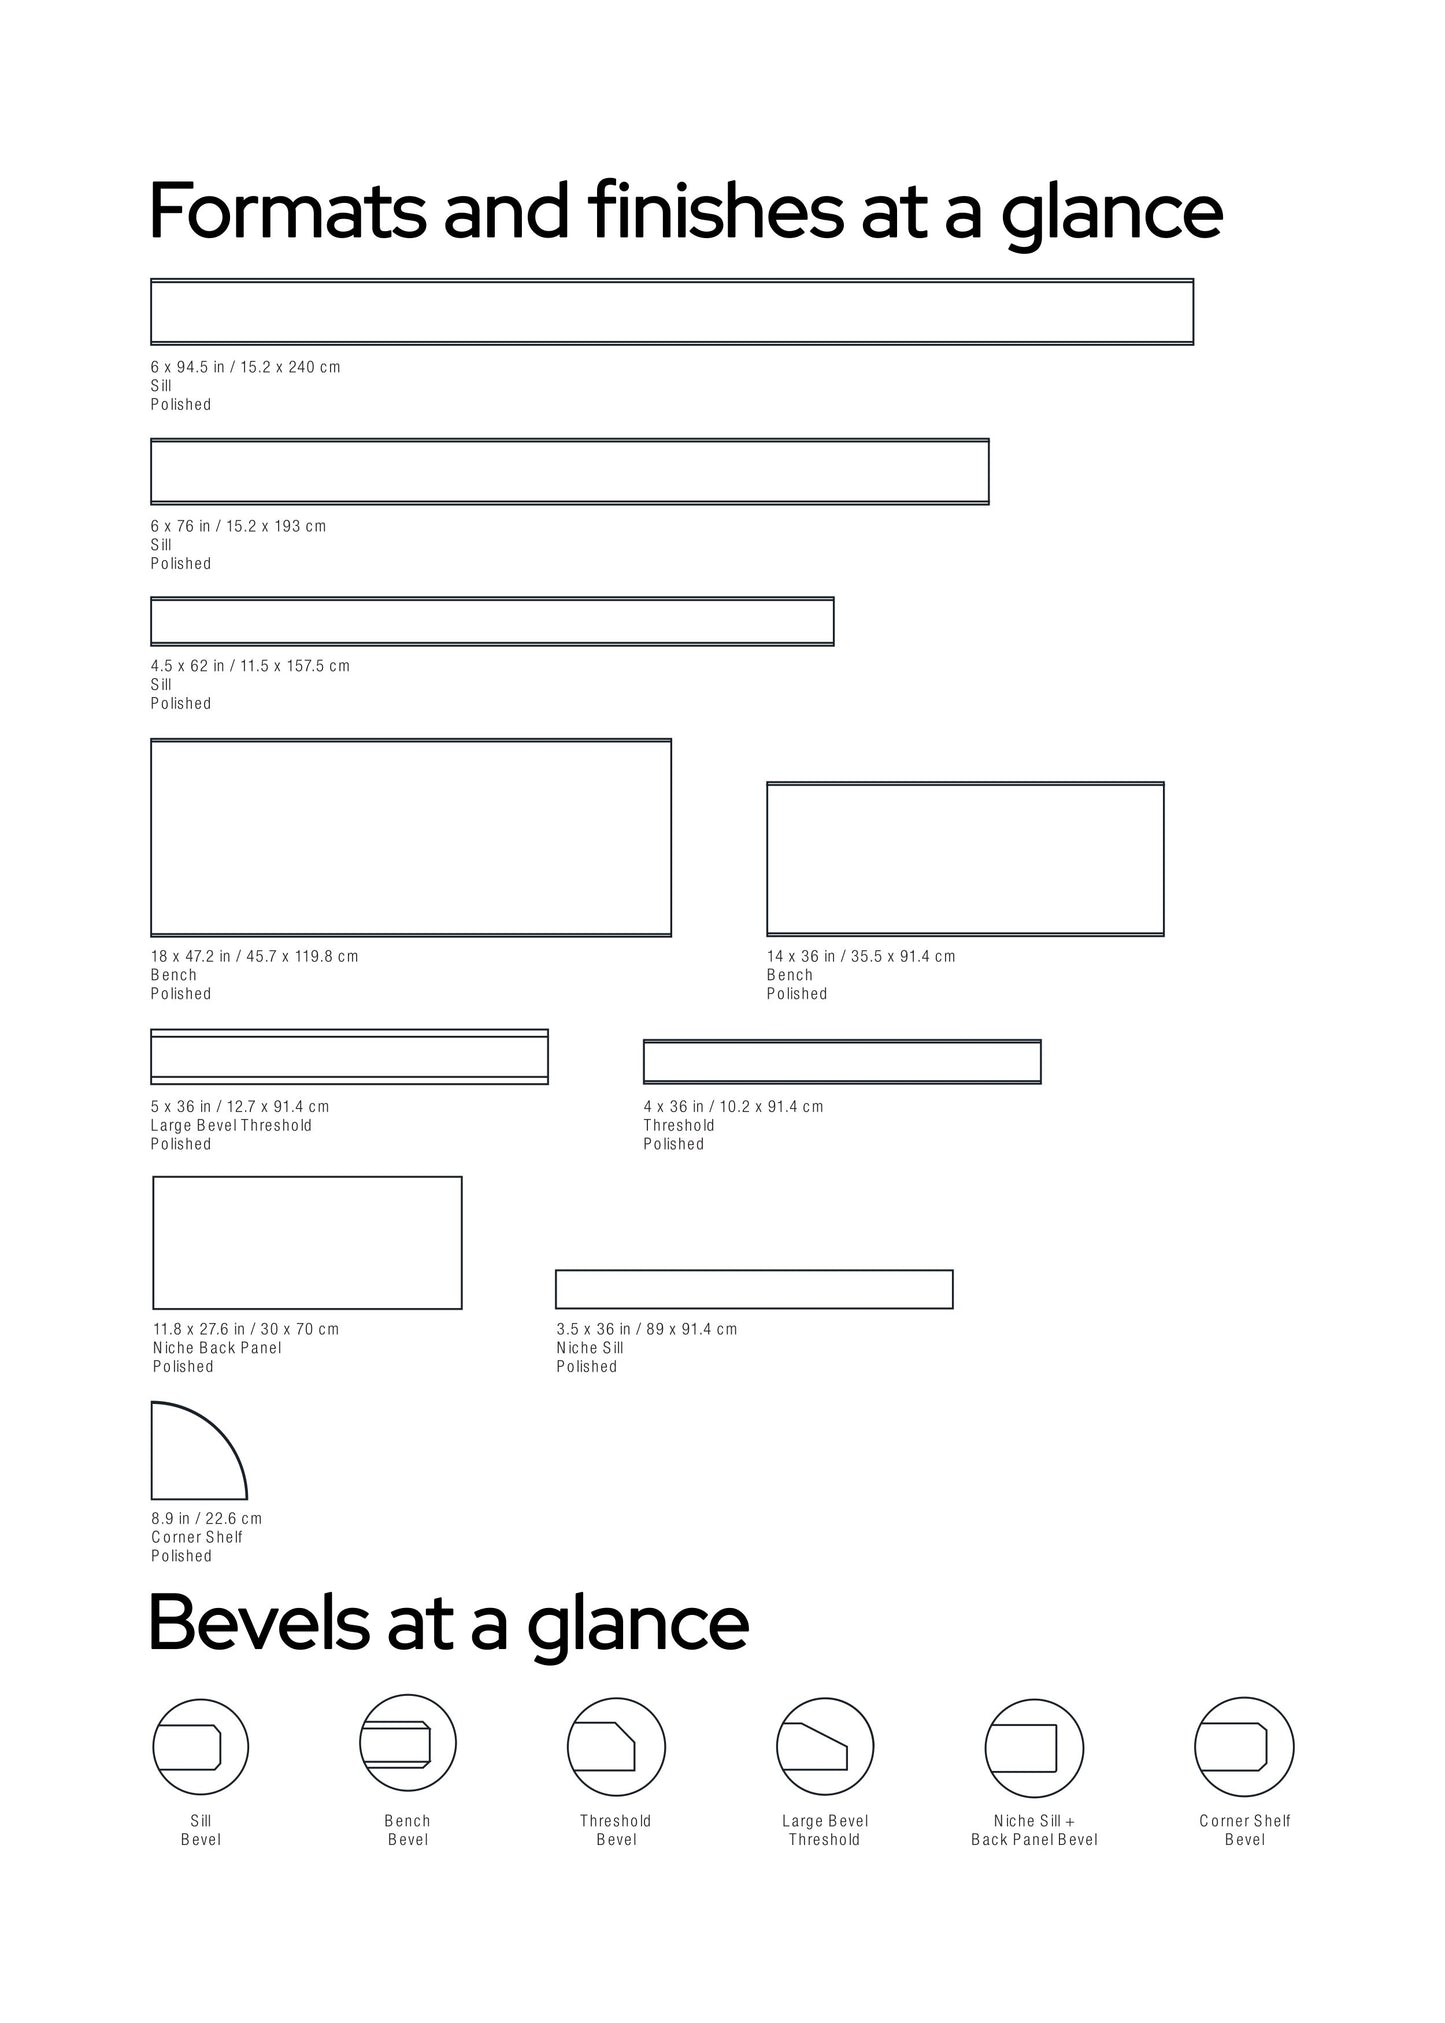
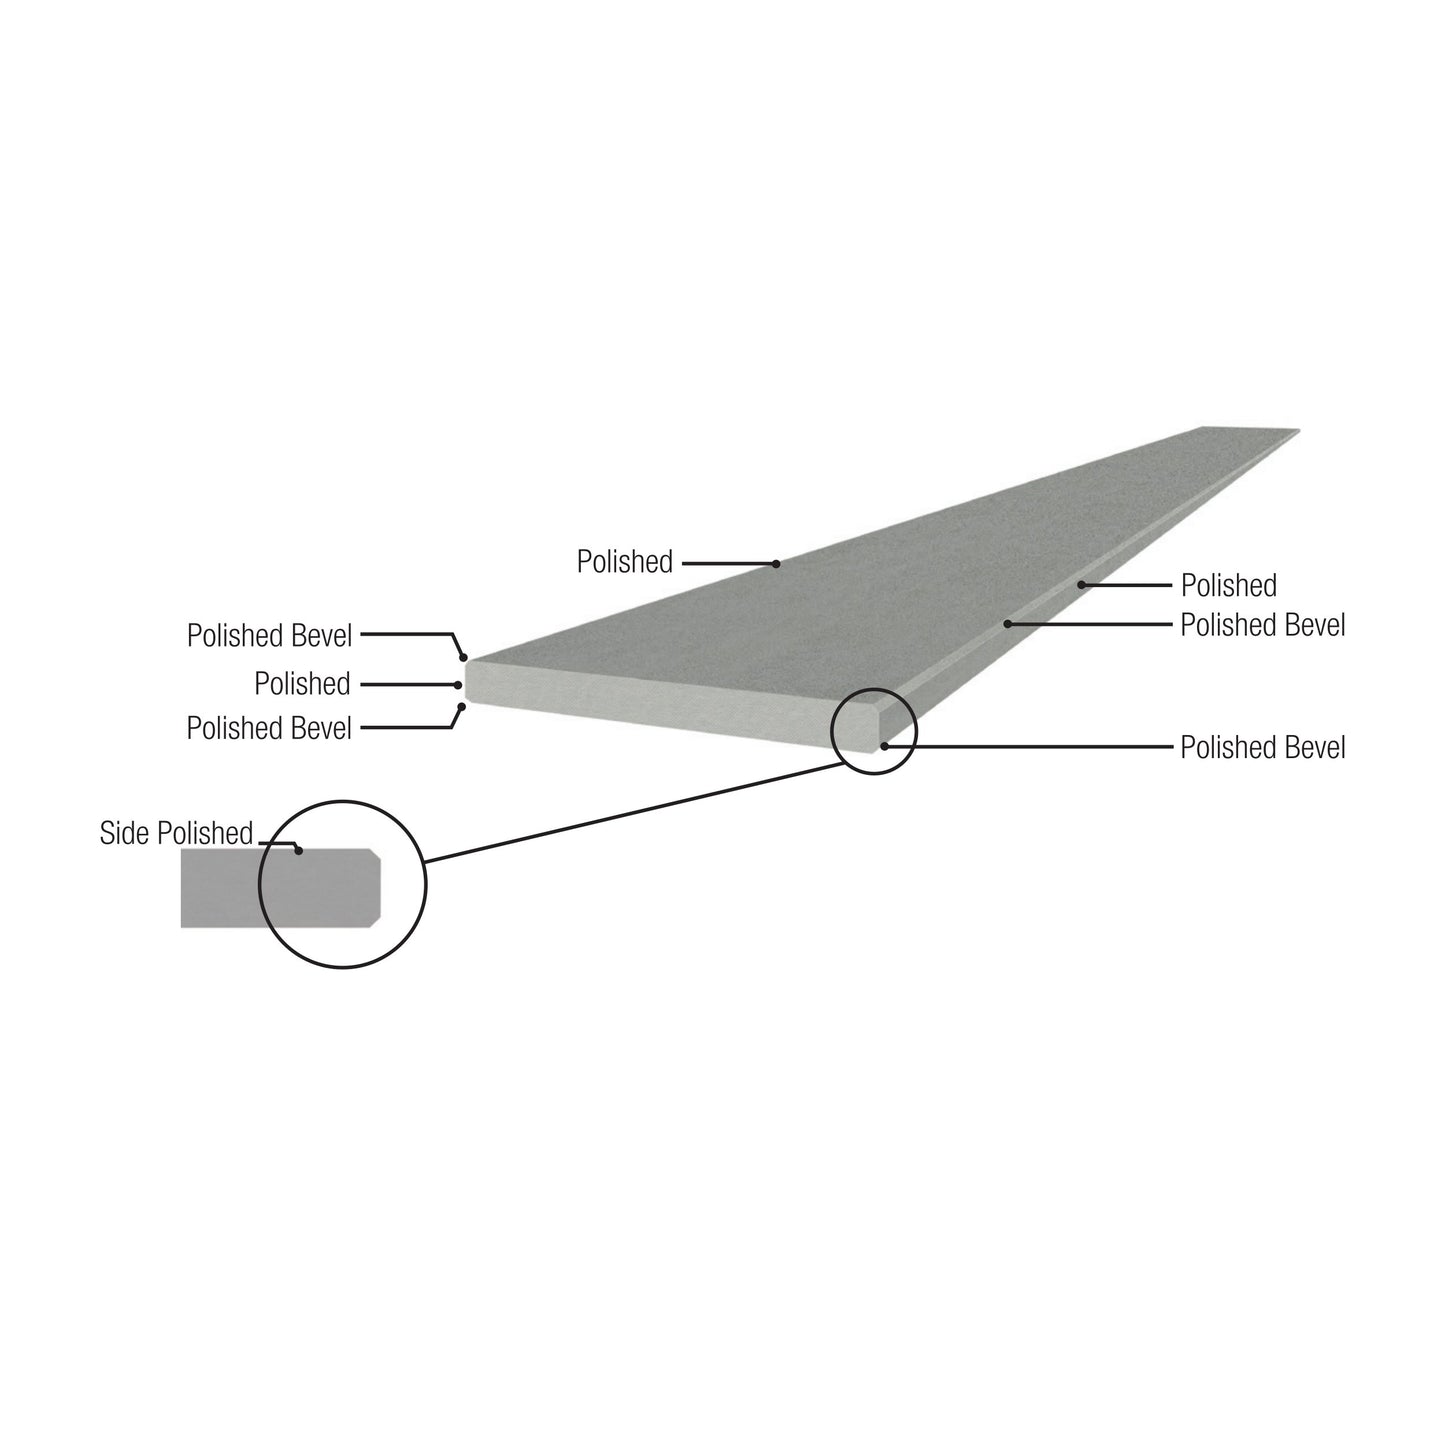
Snow 6x94 Sill/Curb
Snow 6x94 Sill/Curb
Couldn't load pickup availability
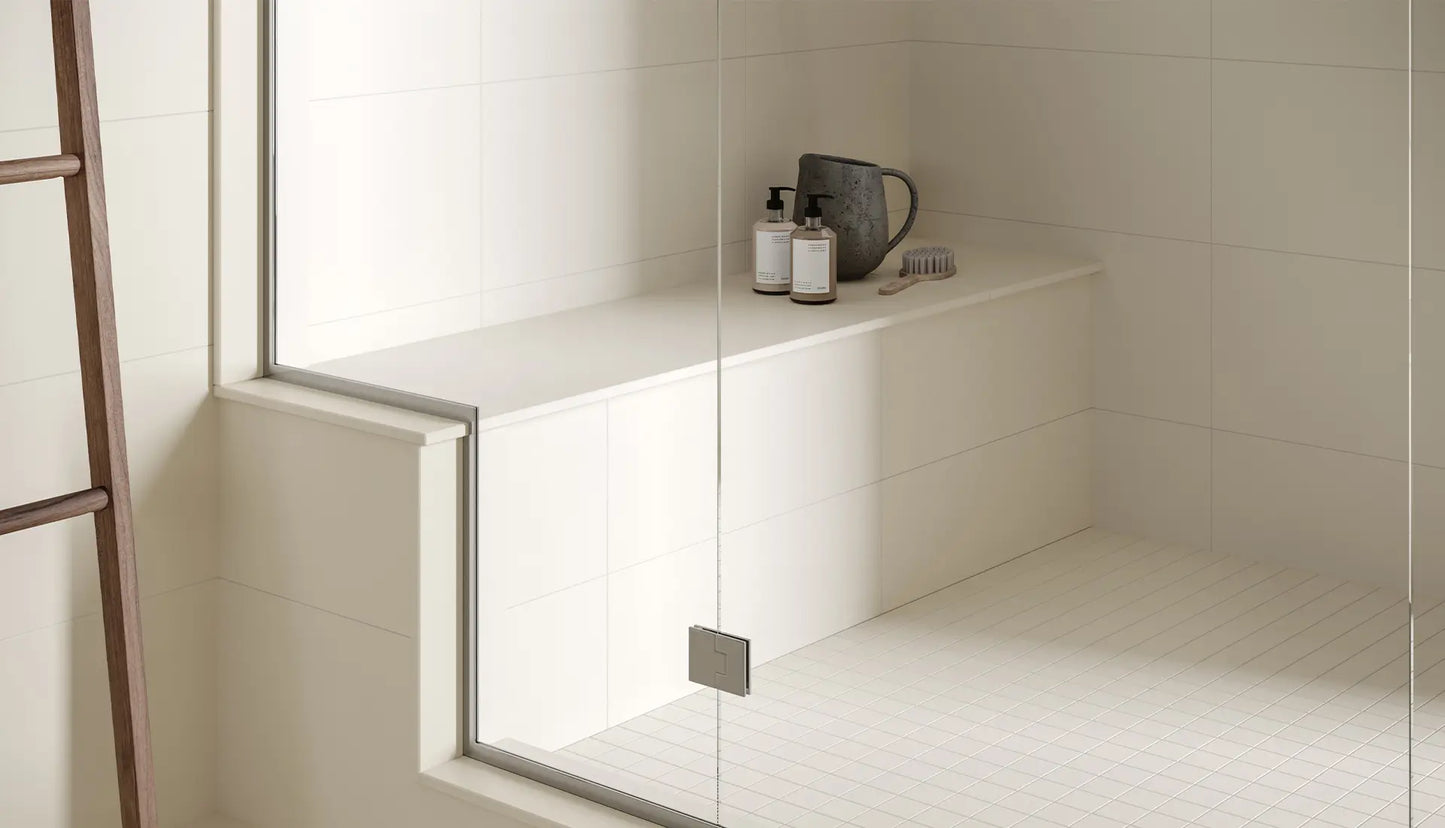
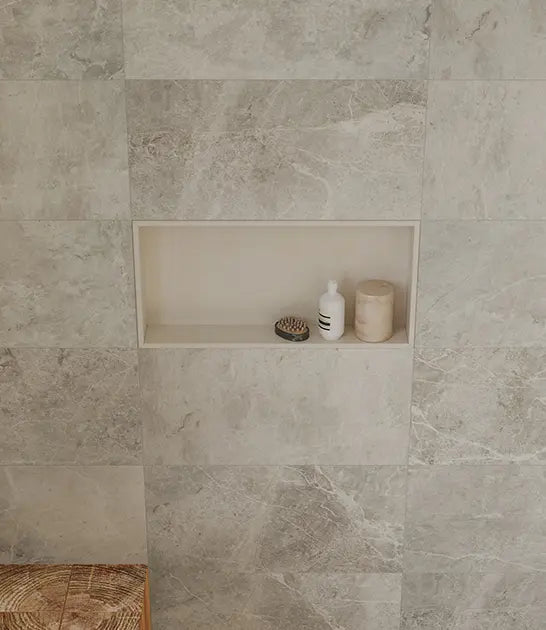
A universal need for every bathroom installation; designers, installers and homeowners have been endlessly seeking a solution for finishing their bathroom tile installations. When installing a shower or tub surround there will ultimately be an area such as the shower curb, or wall where a field tile will need to transitioned or capped. Designed specifically as a finish for shower curbs and doorway thresholds.
Pre-Sealed:
Pre-sealed to improve resistance to common staining agents. Sealing does not prevent etching – avoid acids, strong chemicals and sodium softened water which can etch this product, along with marble, and other calcium-based stones. Reseal as needed for prolonged performance.
General Care & Maintenance:
• Wipe up any spills immediately and clean the area using a damp cloth.
• Inspect all product prior to installation by removing plastic for any color/shade variation and verifying size, thickness, bevel, and polishing defects.
• Do not expose engineered stone to: acidic or alkali products, dyes or color-treating products, or products containing any oils or powders.
• Daily cleaning: use a soft cloth with warm water and small amount of mild PH neutral non-pigmented cleaner (non-abrasive and does not contain bleach).
• Do not use abrasives or any products that may scratch the surface.
• For light stains, gently apply rubbing alcohol to the stain. Rinse and wipe dry. Reseal after this method.
• For heavier stains, soak a cloth with a 50/50 mix of bleach and water. Leave on top of the stain for 10 minutes, but no longer than 30 minutes. Rinse and wipe dry. Reseal after this method.
• Do not expose engineered stone to sudden and rapid temperature changes.
• Note: engineered stone products are not recommended for steam showers.
• Contact a professional stone restoration company to treat any engineered stone with stubborn stains and/or etching.
How to install:
1. Cut the engineered stone (face side up) to the required dimensions with a circular saw, or wet saw. DO NOT USE DRY CUTTING METHODS. Wear a respirator when cutting, grinding, or polishing. Children should not be present during cutting, grinding, or polishing.
2. Clean surface thoroughly prior to adhering the threshold to the shower curb.
3. Maintain plastic covering to protect during installation.
4. Adhere threshold to curb using a unmodified thinset.
5. Build up outside edge of curb with thinset to create a ¼” slope towards the inside of the shower for proper drainage when using as a shower sill.
6. Caulk at the walls and under the sill using silicone caulking to prevent water leaks.
NOTE: NO CLAIMS WILL BE ACCEPTED AFTER THE MATERIAL HAS BEEN INSTALLED.